
If you're a DIY enthusiast looking to elevate your outdoor space without straining your wallet, block paving might be the perfect project for you. You'll want to start by accurately measuring your area and selecting cost-effective materials, but how do you guarantee your design stands out? With the right preparation and planning, you can achieve a professional finish that not only enhances your home's curb appeal but also respects your budget. Let's explore some essential tips that can lead you to a successful paving project.
Preparation and Planning
When commencing on a block paving project, thorough preparation and planning are essential for a successful outcome. Start with accurate area measurement—calculate the space you'll be paving to determine how much material you'll need.
Next, mark the boundaries using string lines and pegs to create a clear outline of your project. As you plan, consider the pattern you want to use, like herringbone or running bond, as this will influence your material requirements.
Don't forget about drainage! Make certain you account for a slight slope of 1:60 to direct water away from your foundation. Before you dig, check local regulations to make certain compliance with building codes and homeowners association rules. Proper drainage solutions are critical to prevent issues such as water pooling and enhance the longevity of your driveway.
Once you've got your area mapped out, you'll need to remove any existing materials and prepare for excavation. Use proper excavation techniques to dig to a depth of 200-250mm, ensuring you keep an eye out for any underground utilities.
Compact the soil using a plate compactor and level the ground with a rake and spirit level. This preparation sets the stage for a solid and durable block paving installation.
Base and Sub-Base Setup
A solid base and sub-base setup is vital for guaranteeing the longevity and stability of your block paving project. To get it right, follow these key steps:
- Excavation and Depth: Start by excavating the area to a depth of 200-250mm. This accommodates the sub-base, sand layer, and block pavers. Aim for a sub-base depth of at least 150mm using MOT Type 1 hardcore aggregate as your sub base materials.
- Compaction Techniques: After evenly spreading the sub-base material, use a plate compactor to compact it thoroughly. It's essential to compact in layers if necessary, checking for any uneven surfaces with a spirit level. The sub-base should be firm and even.
- Final Layering: Once the sub-base is compacted, apply a 50mm layer of sharp sand on top and compact this layer as well. This guarantees a stable foundation for your block pavers while preventing any sinking or dipping. Additionally, ensuring proper base preparation is crucial to minimize risks of future damage.
Effective Block Laying
Effective block laying requires precision and attention to detail to confirm a durable and attractive finish. Start by setting up your corner pillars using speed lead poles or metal poles braced plumb at each corner. This confirms a perfectly level foundation for your project. Use a laser level to make reference marks and drop down to create 8-inch increments on each pole, guiding your block laying process.
Here's a quick reference table for essential materials and tools:
| Tool/Material | Purpose | Quantity Needed |
|---|---|---|
| Speed Lead Poles | Set corner pillars | 4 |
| 2×4 16-footers | Bracing | 2 |
| Laser Level | Level reference marks | 1 |
| Rubber Mallet | Level blocks | 1 |
| Block Splitter | Cutting blocks | 1 |
Begin block laying from one corner, placing blocks tightly together. Use a rubber mallet to confirm they're level, and check alignment with string lines to confirm straight edges. Remember, practice and patience are key when getting started with block laying! Additionally, ensuring a solid foundation will help enhance the longevity and stability of your block paving project.
Choosing Patterns and Designs
After getting your block laying techniques down, the next step is picking the right patterns and designs to enhance your project. Your pattern selection not only impacts the design aesthetics but also the functionality of your paved area.
Here are three popular patterns to contemplate:
- Herringbone: This zig-zag design is perfect for high-traffic areas and offers great structural integrity.
- Stack Bond: A straightforward pattern that's easy for DIY enthusiasts, requiring minimal cutting and providing a clean look.
- Basketweave: This visually appealing option alternates pairs of stones, creating a unique design without extensive cutting.
When choosing, think about practical aspects like drainage and maintenance. Patterns like Herringbone excel in preventing movement and ensuring durability. Additionally, block paving offers high resistance to stains and spills, making it a practical choice for various environments.
Additionally, using a mix of stone sizes can elevate your design aesthetics while requiring careful planning. Always aim for a cohesive look that complements existing hardscapes in your yard.
Budgeting for Paving Materials
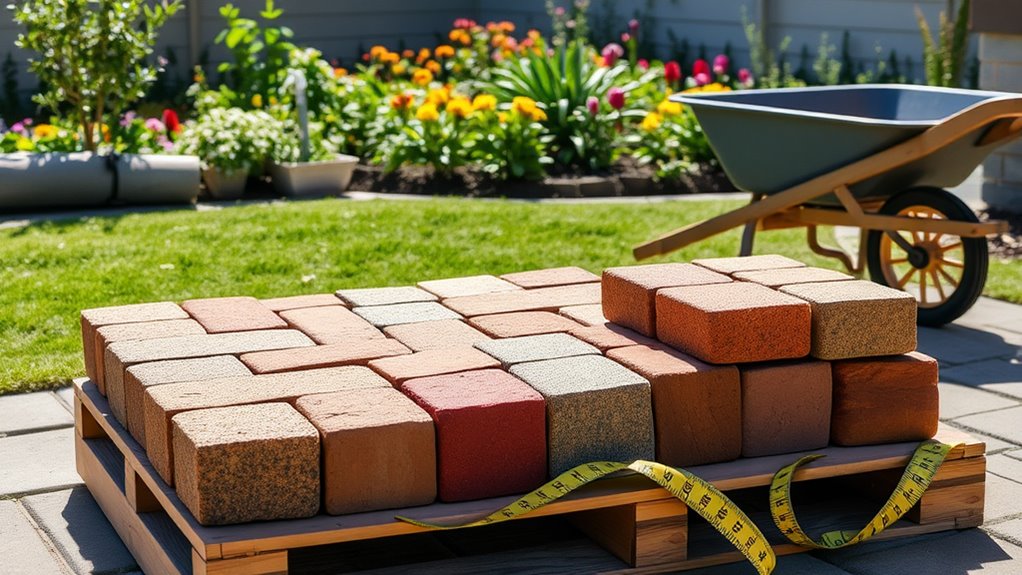
When diving into a block paving project, it's vital to lay out a clear budget for your materials to avoid any unexpected expenses.
Start with your sub-base, typically using MOT type 1 crushed stone or gravel, about 150mm deep. Remember to order 10-15% extra to accommodate compaction, which is important for preventing subsidence.
Next, consider your sand requirements. You'll need sharp sand for the bedding layer at a thickness of 50mm, plus kiln dried sand for filling gaps between pavers. Again, factor in a little extra—10-15% more—to guarantee you can top up as needed.
Now, let's talk about paver selection. Block pavers come in various colors, shapes, and sizes, all impacting your overall costs. For a 3 square meter area, you might spend around £200 on pavers and concrete edging.
Don't forget to order extra pavers for cuts and waste.
Lastly, account for edge restraints, concrete for bedding, and any equipment hire. Effective material sourcing and budgeting will keep your project on track and within limits, making sure you achieve that perfect finish without breaking the bank. Additionally, consider investing in high-quality blocks to enhance the durability and appearance of your driveway.
Essential Tools and Safety Gear
Once you've budgeted for your paving materials, it's time to gather the tools and safety gear that'll make your block paving project a success. Proper tool selection is essential, as the right tools not only streamline the process but also guarantee quality results.
Here are three key items you shouldn't overlook:
- Shovel: Perfect for digging and moving sub-base material efficiently.
- Plate Compactor: This tool compacts your sub-base and pavement layers, securing stability.
- Rubber Mallet: Ideal for tapping blocks into place without causing damage.
Equally important are the safety measures you'll need to implement. Protecting yourself is fundamental when handling heavy materials.
Equip yourself with the following safety gear:
- Safety Boots with steel toe caps to guard against heavy slabs.
- Rubberised Protective Gloves to keep your hands safe from cuts and cement.
- Particulate Dust Mask to prevent inhaling harmful dust. Additionally, ensure your project adheres to safety compliance standards, especially when working around pool surrounds.
Maintenance and Care Tips
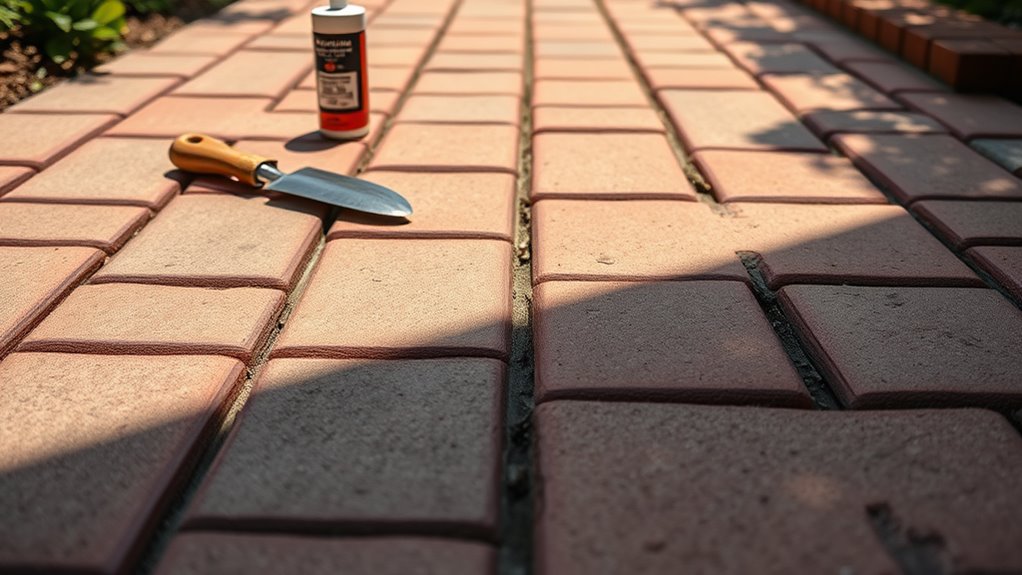
Maintaining your block paving can greatly extend its lifespan and keep it looking great year-round. Start by regularly clearing debris; sweeping away leaves and dirt prevents mess and staining.
For effective weed control, carefully remove any weeds sprouting between the blocks, guaranteeing you pull them out by the roots.
Inspect your paving for loose or uneven blocks before diving into cleaning. Use simple cleaning techniques—just a brush, water, and mild soap will do. Gently scrub the surface, then rinse thoroughly to remove soap residues.
To prevent sand loss, apply a protective sealant after installation and periodically refill gaps with high-quality jointing compound. Applying a driveway sealer can help protect the surface from environmental damage.
Regularly add kiln-dried sand to maintain the sand level and avoid forceful cleaning methods that may disturb it.
To combat moss and weeds, sweep with a stiff brush and treat the area with an anti-fungicidal wash about three to four times a year.
Finally, check for sunken areas, remove the affected pavers, and re-sand the gaps to keep everything stable.
Conclusion
To sum up, block paving can transform your outdoor space without stretching your budget. For example, imagine a homeowner named Sarah who revitalized her dreary backyard with a simple stack bond pattern, using affordable pavers and MOT Type 1 aggregate. By planning carefully and maintaining her paved area regularly, she not only enhanced her property's curb appeal but also created a welcoming space for family gatherings. With the right approach, you can achieve similar results and enjoy your outdoor oasis for years to come!

Adding curb appeal to your home can be a daunting task, but it doesn't have to be. Designing and installing Read more

As homeowners, we are always looking for ways to improve and add value to our properties. One popular choice for Read more

Block paving, like a well-tended garden, is a testament to the care and attention given to one's property. Just as Read more